Generic LiteSpeed Web Server Installation in Apache-based Environment
This generic guide shows you how to install LSWS on any Apache-based environment. Please do not directly perform these steps on a production server. It is highly recommended to run though a test first.
Depending on your environment, these steps may disable some panel features, most likely the PHP-related features as this installation will have its own LSPHP.
This guide was made and tested on CentOS 7.X. Please change the commands/values to your system's equivalent.
Download
Download the package from LiteSpeed:
wget https://www.litespeedtech.com/packages/5.0/lsws-5.3.6-ent-x86_64-linux.tar.gz
Unpack it:
tar xzvf lsws-5.3.6-ent-x86_64-linux.tar.gz
cd lsws-5.3.6
Save your license key:
echo "YOUR_LICENSE_KEY" > serial.no
Note: If this is your first time using LSWS, you can also install it with a trial license. Get your trial here and place trial.key into the lsws folder.
Stop Apache before beginning LSWS installation:
systemctl stop httpd
Install LSWS
Install LSWS:
./install.sh
During the installation, there are several options that need to be configured. Most options can be left as the default. Only the following need to be set:
- Hosting control panel:
None - User:
apache - Group:
apache - HTTP port:
80
User and Group must be same as the user and group that runs Apache (generally apache:apache on CentOS, www-data:www-data on Ubuntu).
Install PHP
Install the LiteSpeed repository for PHP:
rpm -Uvh http://rpms.litespeedtech.com/centos/litespeed-repo-1.1-1.el7.noarch.rpm
Install your preferred PHP version. PHP 7.0 is used below as an example:
yum install lsphp70*
Complete Configuration in WebAdmin Console
You may log into the WebAdmin Console at https://YOUR_SERVER_IP:7080. If you are unable to access WebAdmin, please verify that your firewall is not blocking it.
Use the username and password you were asked to set during the install script. If you need to reset these, please run the following command:
/usr/local/lsws/admin/misc/admpass.sh
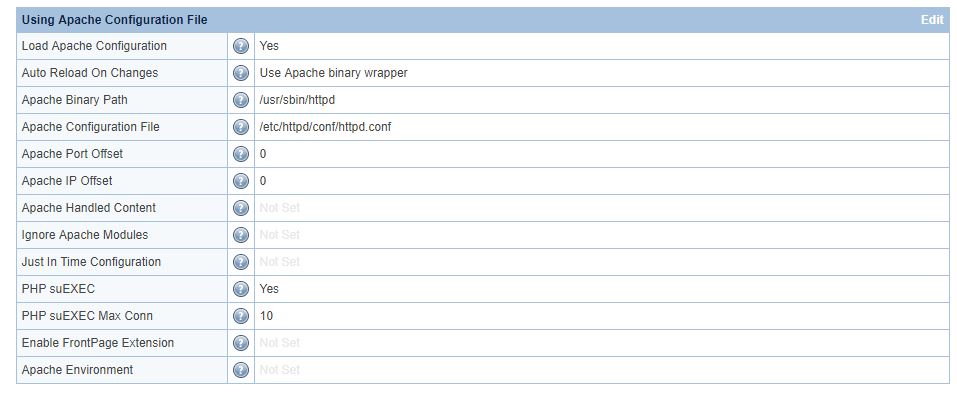
Navigate to Configuration > Server > Using Apache Configuration File and configure the options as shown below:
NOTE: If Apache Reload on Changes is enabled, Apache may be unable to start, due to the Apache binary wrapper. LSWS will be started instead of Apache. To run Apache and LSWS in parallel, please specify an Apache Port Offset, and set Apache Reload on Changes to NO
Navigate to Configuration > Server > HT Access and configure the options as shown below:
You can use which httpd to locate the Apache binary path. Apache configuration is generally located on /etc/httpd or /etc/apache2.
Note: PHP suEXEC Max Conn controls how many concurrent PHP process a single site can have.
Restart LSWS for the configuration to take effect.
Configure PHP
Add the following to .htaccess, replacing XX with the PHP version you installed earlier:
<IfModule Litespeed>
AddHandler application/x-httpd-phpXX .php
</IfModule>
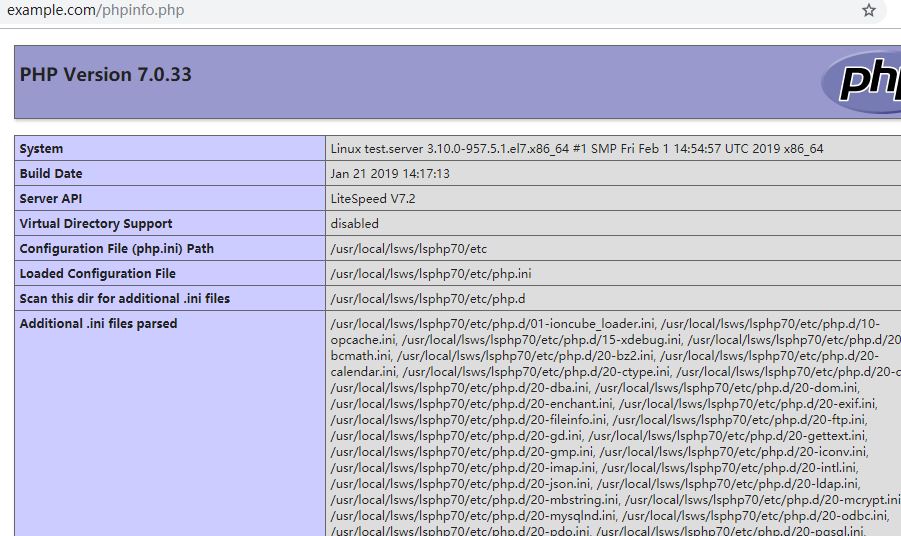
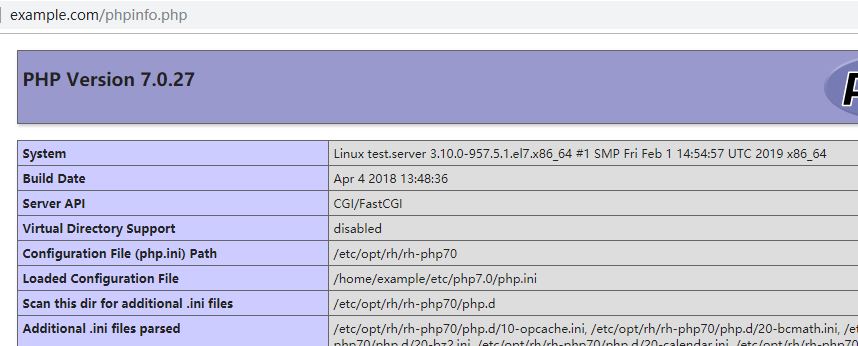
Access a test page to check the result:
As you can see from the paths, we are running PHP 7.0. Additionally, note that it shows Server API LiteSpeed V7.2.
Changing the PHP Version
Install the new PHP version you need, for example 7.3:
yum install lsphp73*
Restart LSWS so it can detect the new PHP versoin, and add following content to .htaccess:
<IfModule Litespeed>
AddHandler application/x-httpd-php73 .php
</IfModule>
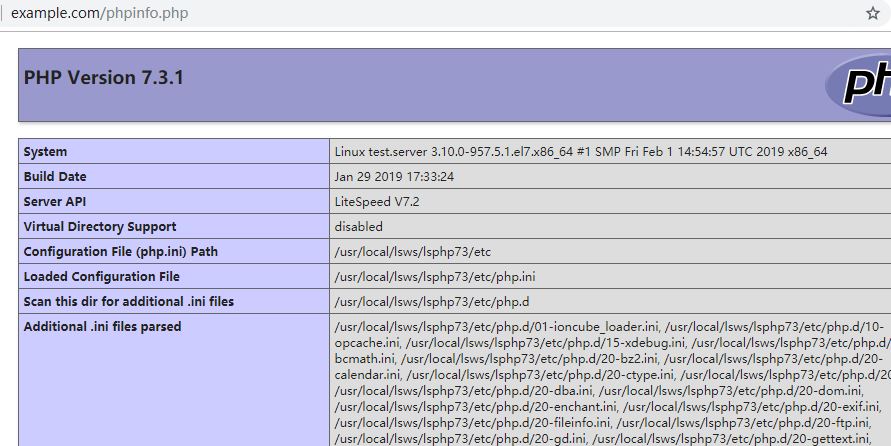
Check phpinfo, and you will see from the paths that it's PHP 7.3 now:
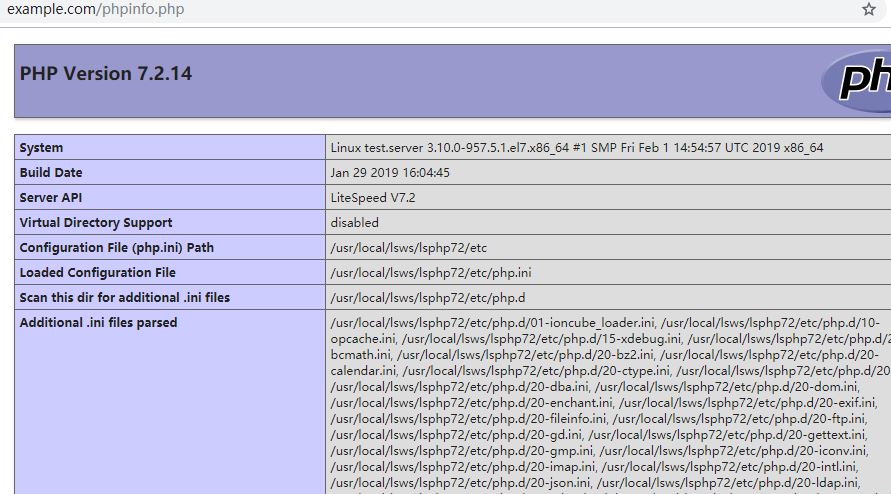
So it is the same for other PHP versions, like 7.2:
Compiling PHP Extensions
For example, we want compile the PHP exntesion timezonedb for PHP 7.3.
Install dependencies:
yum install -y lsphp73-devel make gcc glibc-devel
Compile it:
/usr/local/lsws/lsphp73/bin/pecl install timezonedb
Add it into configuration file:
echo "extension=timezonedb.so" > /usr/local/lsws/lsphp73/etc/php.d/20-timezone.ini
Note: LiteSpeed Web Server (as of v5.3) runs PHP in detached mode by default. You may need to kill the current lsphp process in order to load the new configuration.
